
|
|
||
|
|
|
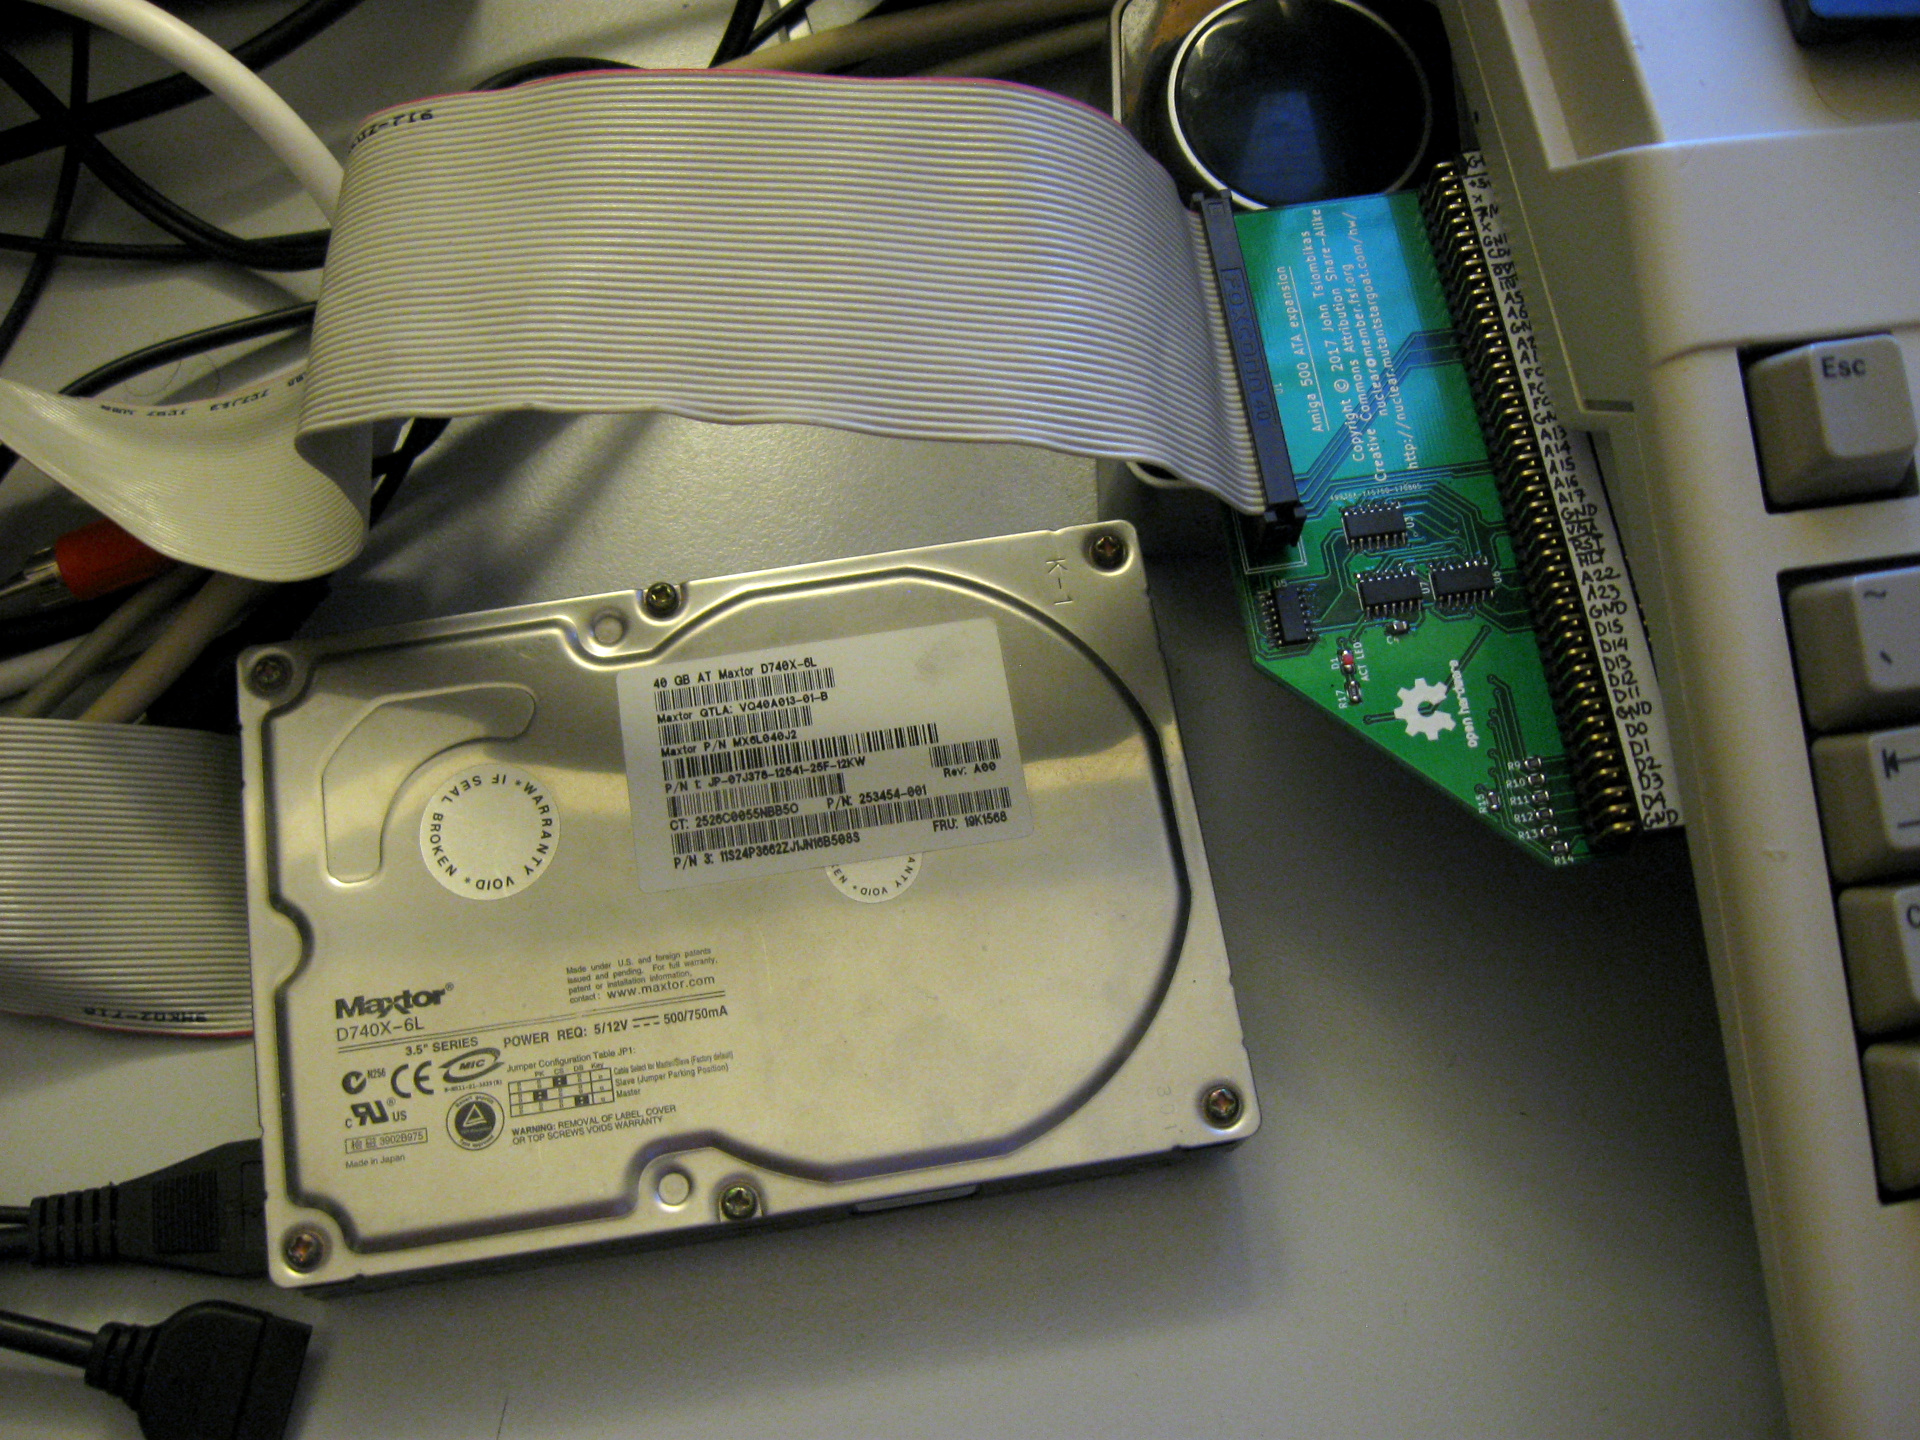
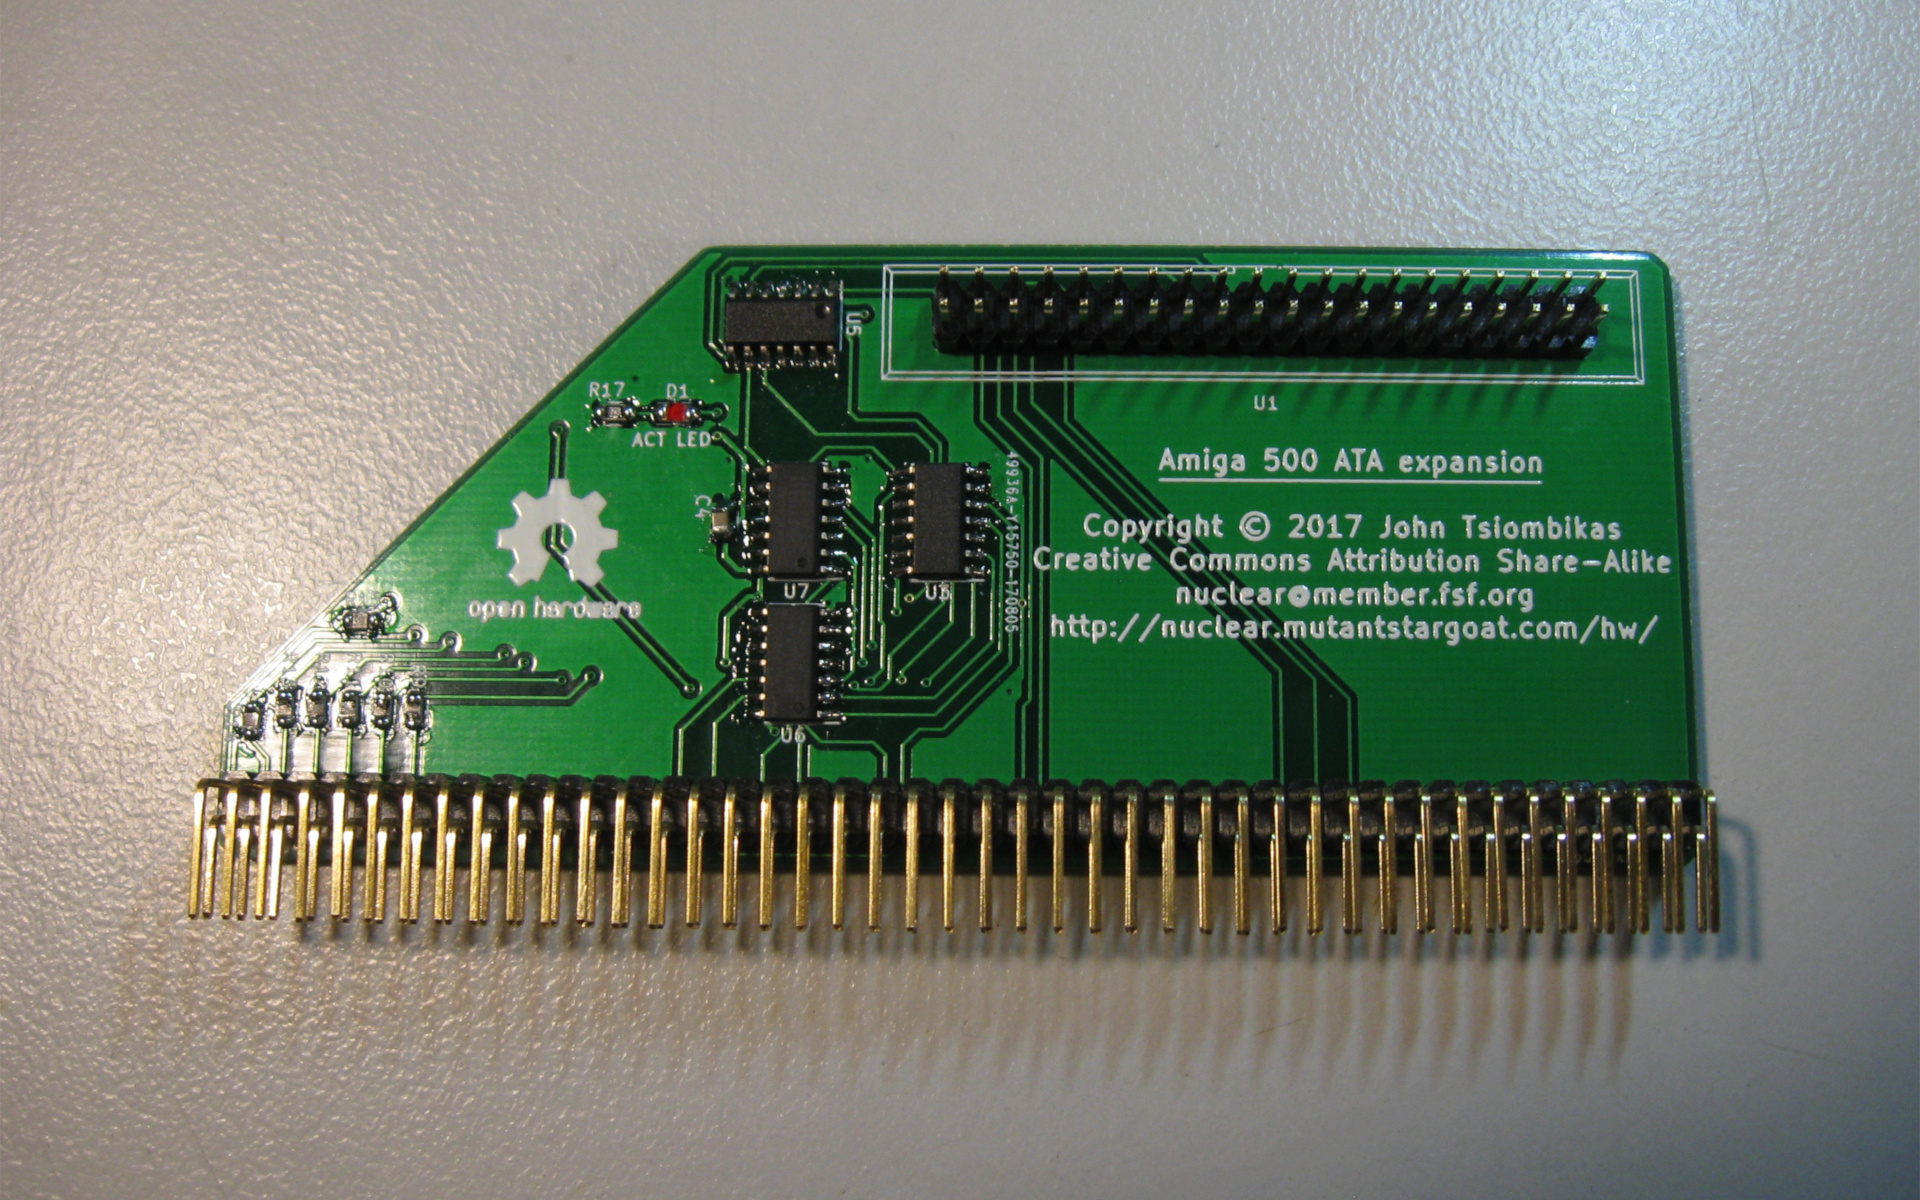
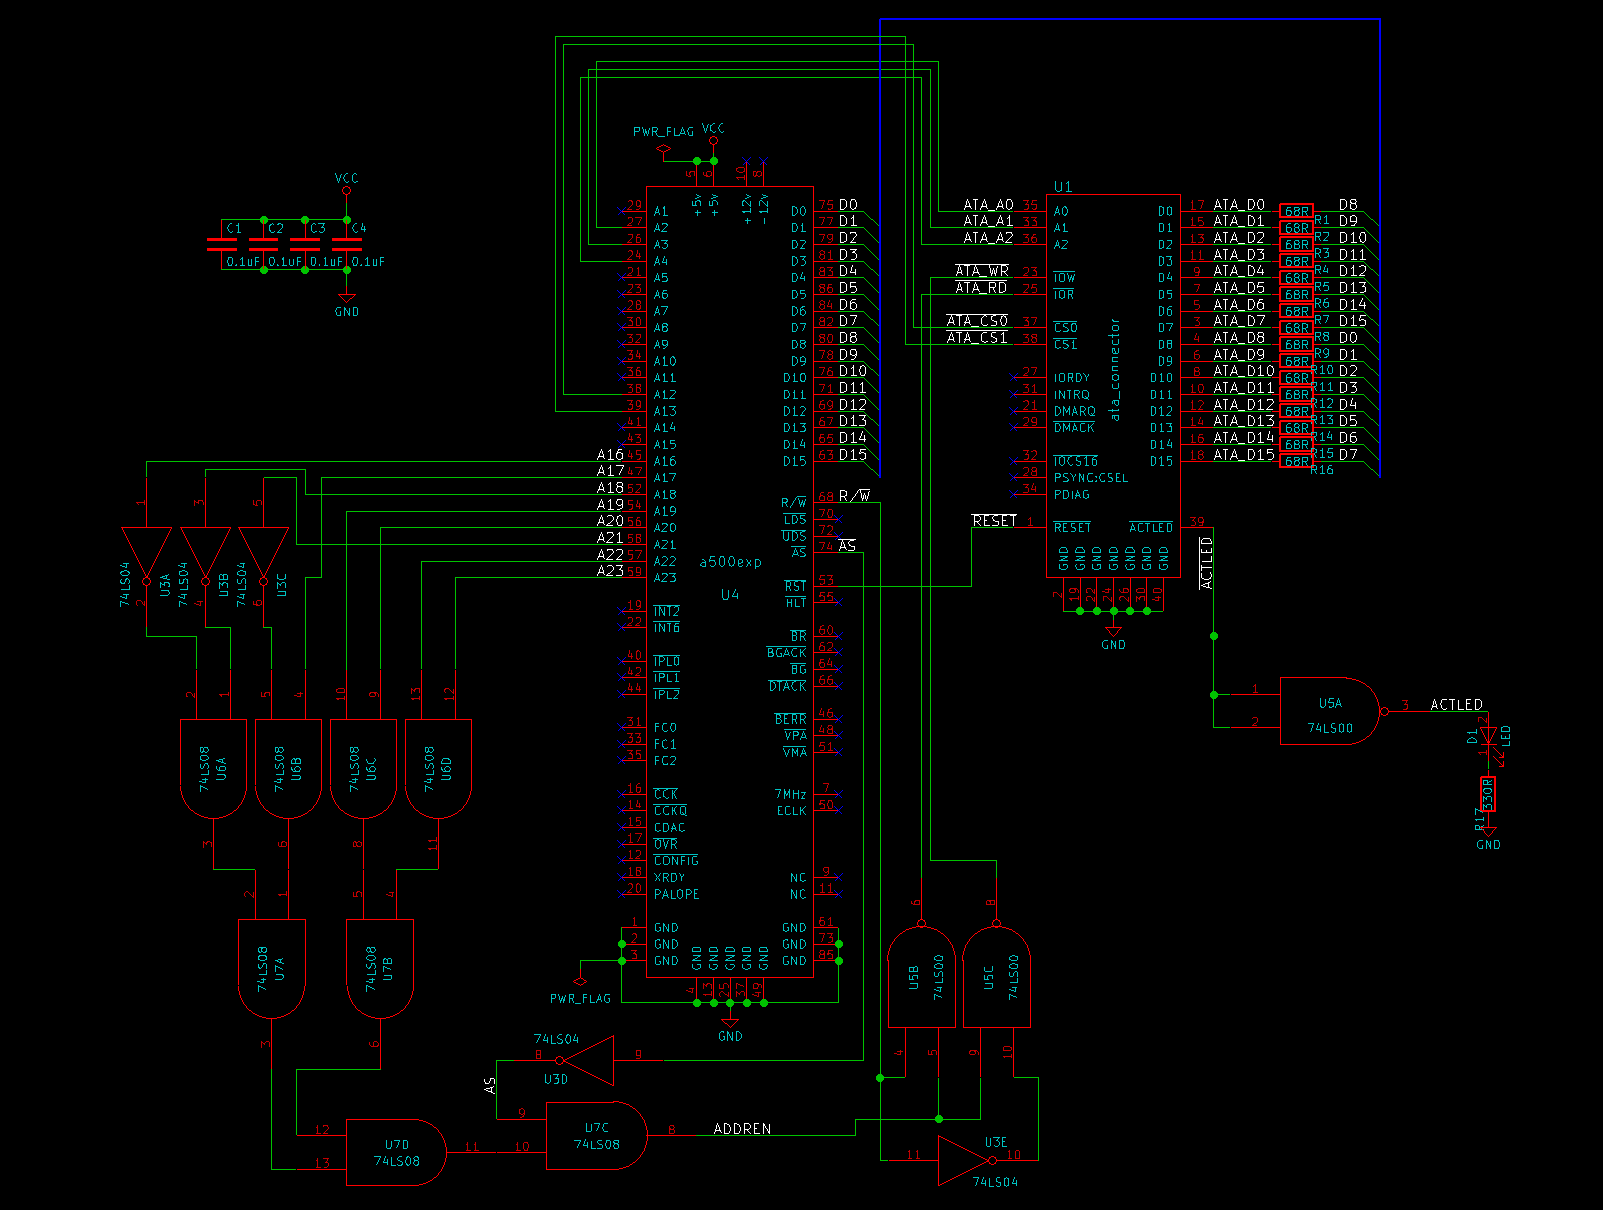
This is an ATA hard disk interface board, for the Amiga 500. It's mostly inspired by similar projects documented in aminet, and particularly this one.
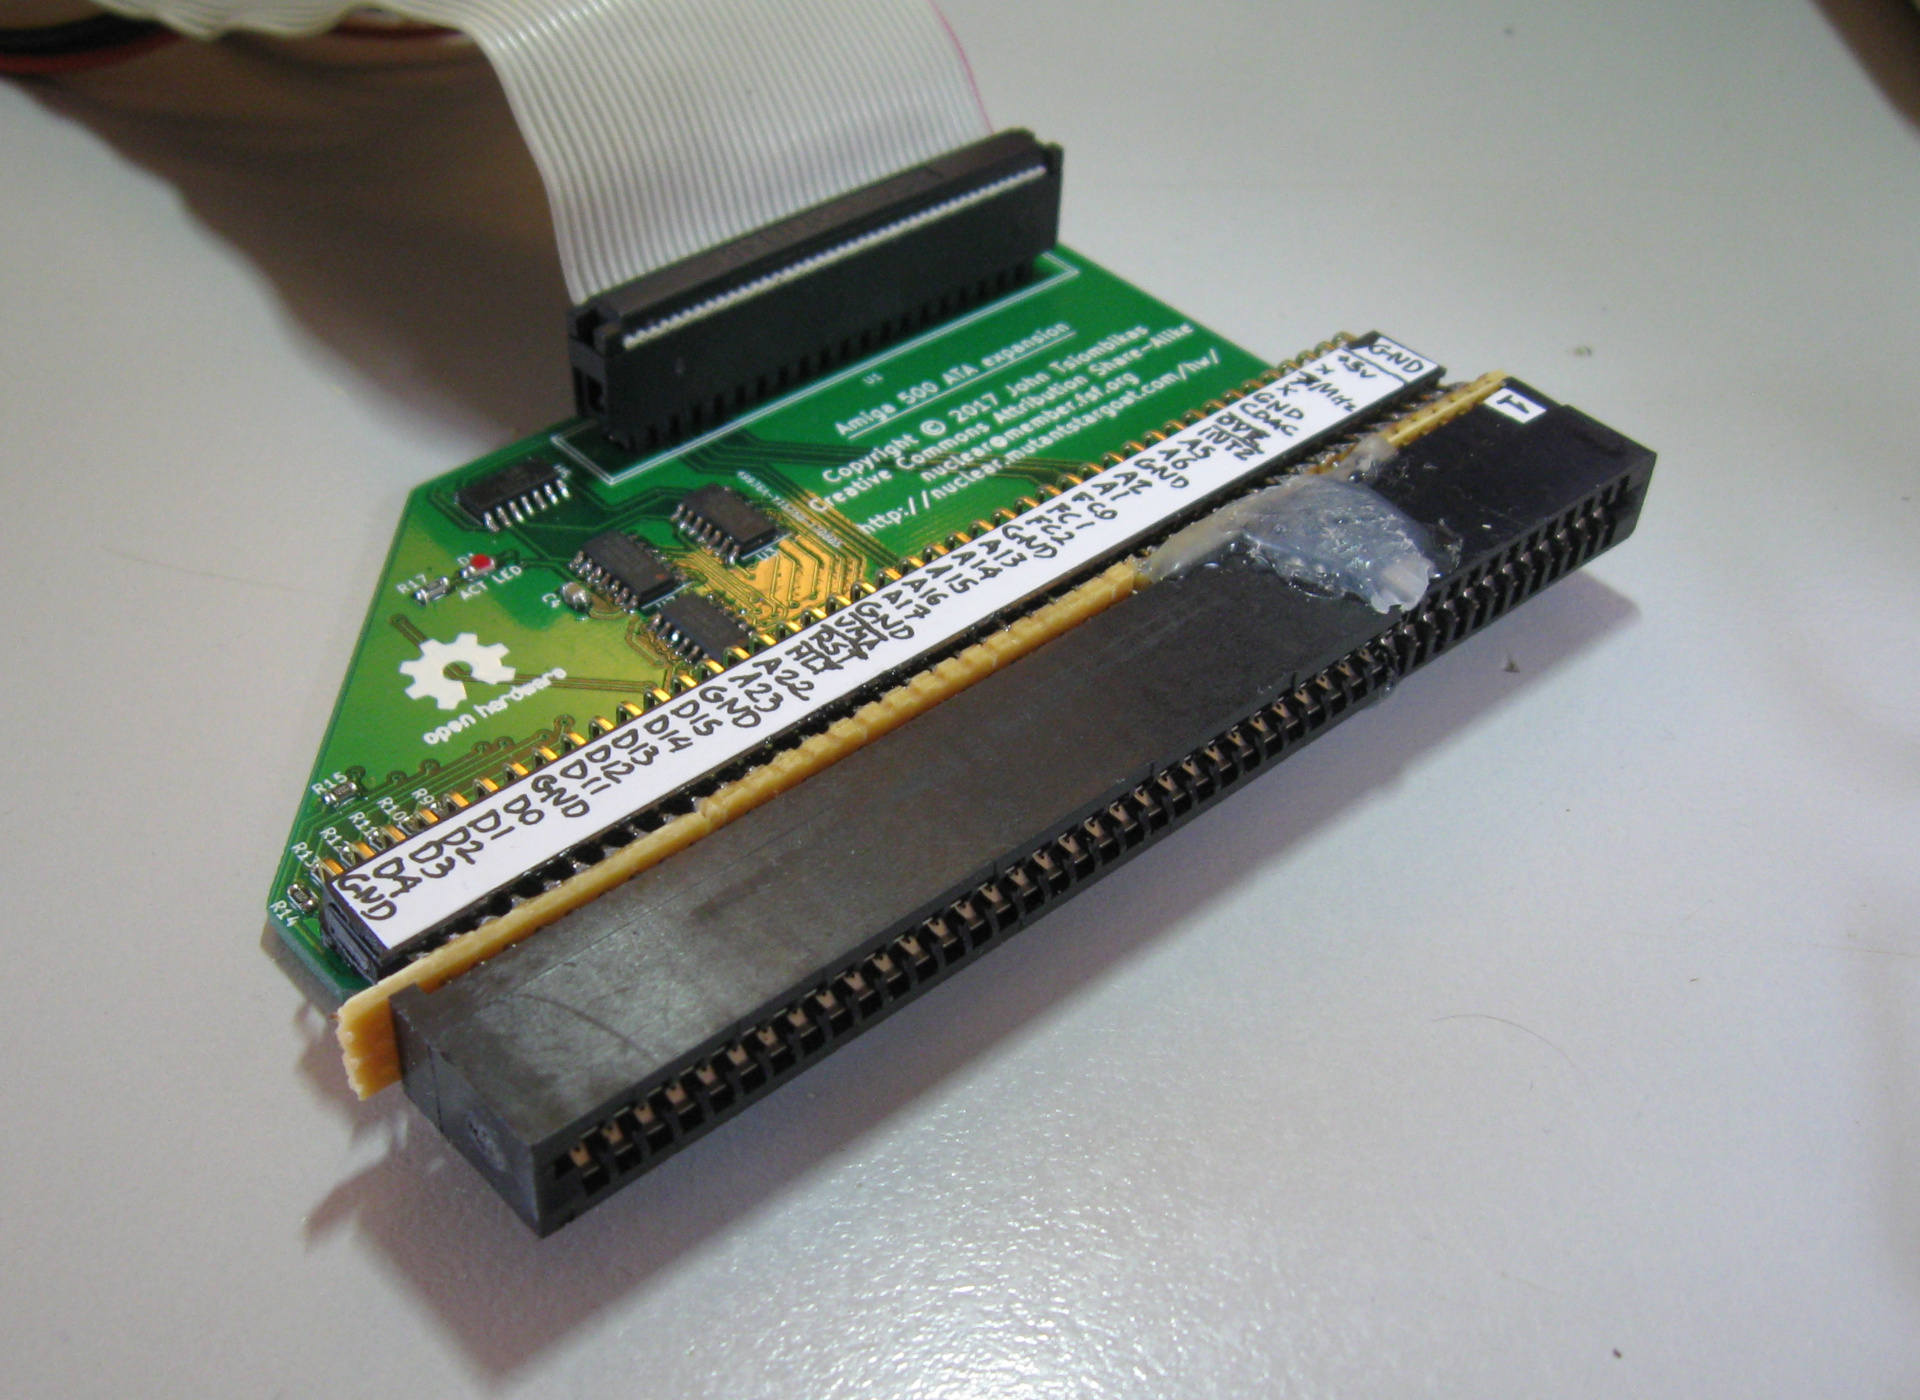
It's designed to connect on the expansion port on the left side of the amiga, and it's compatible with the ide.device driver included in rkide.lha in the aforementioned archive.
Schematic and PCB layout done in KiCad. You may download the schematic as a pdf file, or the full kicad project (includes gerbers for PCB fabrication). If you intend to make one, check out the bill of materials and notes about the edge connector.
This is a simple non-autobooting hard disk interface. A bootstrap floppy disk is necessary to mount the hard disk and pass control to the startup-sequence on the hard disk itself for the full workbench initialization.
You need to make a bootstrap floppy which contains:
If you're too lazy to do that, feel free to download this disk image for workbench 1.3.
The mountlist (ide.ml on my disk image) describes the geometry of the hard disk, so you need to edit it to match your disk. The number of heads is defined by Surfaces, the number of sectors is defined by BlocksPerTrack, and you need to specify the range of cylinders to use with LowCyl, and HighCyl. Don't specify a huge number of cylinders; amiga can't deal with huge filesystems.
If you're running on a machine with kickstart 2.04 or higher, delete the FileSystem = L:FastFileSystem line. You have the fast filesystem in ROM.
The mount command using this mountlist is: mount dh0: from ide.ml.
After you have the mountlist, and all the other files in place, you need to mount the disk and format it.
To format the filesystem use: format DRIVE dh0: NAME root FFS QUICK. Mine printed an error message at the end, but it worked fine regardless. Let me know if you encounter this error and you have any idea what it's supposed to mean.
If you're installing workbench 1.3, simply copy the files from the floppy with: copy df0: to dh0: all clone. Otherwise for workbench 3.1 use the installation floppy.
Finally (if you're not using my disk image above) don't forget to switch the boot floppy startup-sequence file with one which mounts the hard disk and passes control to it. First rename df0:s/startup-sequence df0:s/startup-sequence.f and rename df0:s/startup-sequence.hd df0:s/startup-sequence and then edit the df0:s/startup-sequence file to add a mount dh0: from ide.ml command before it checks wether dh0: exists.
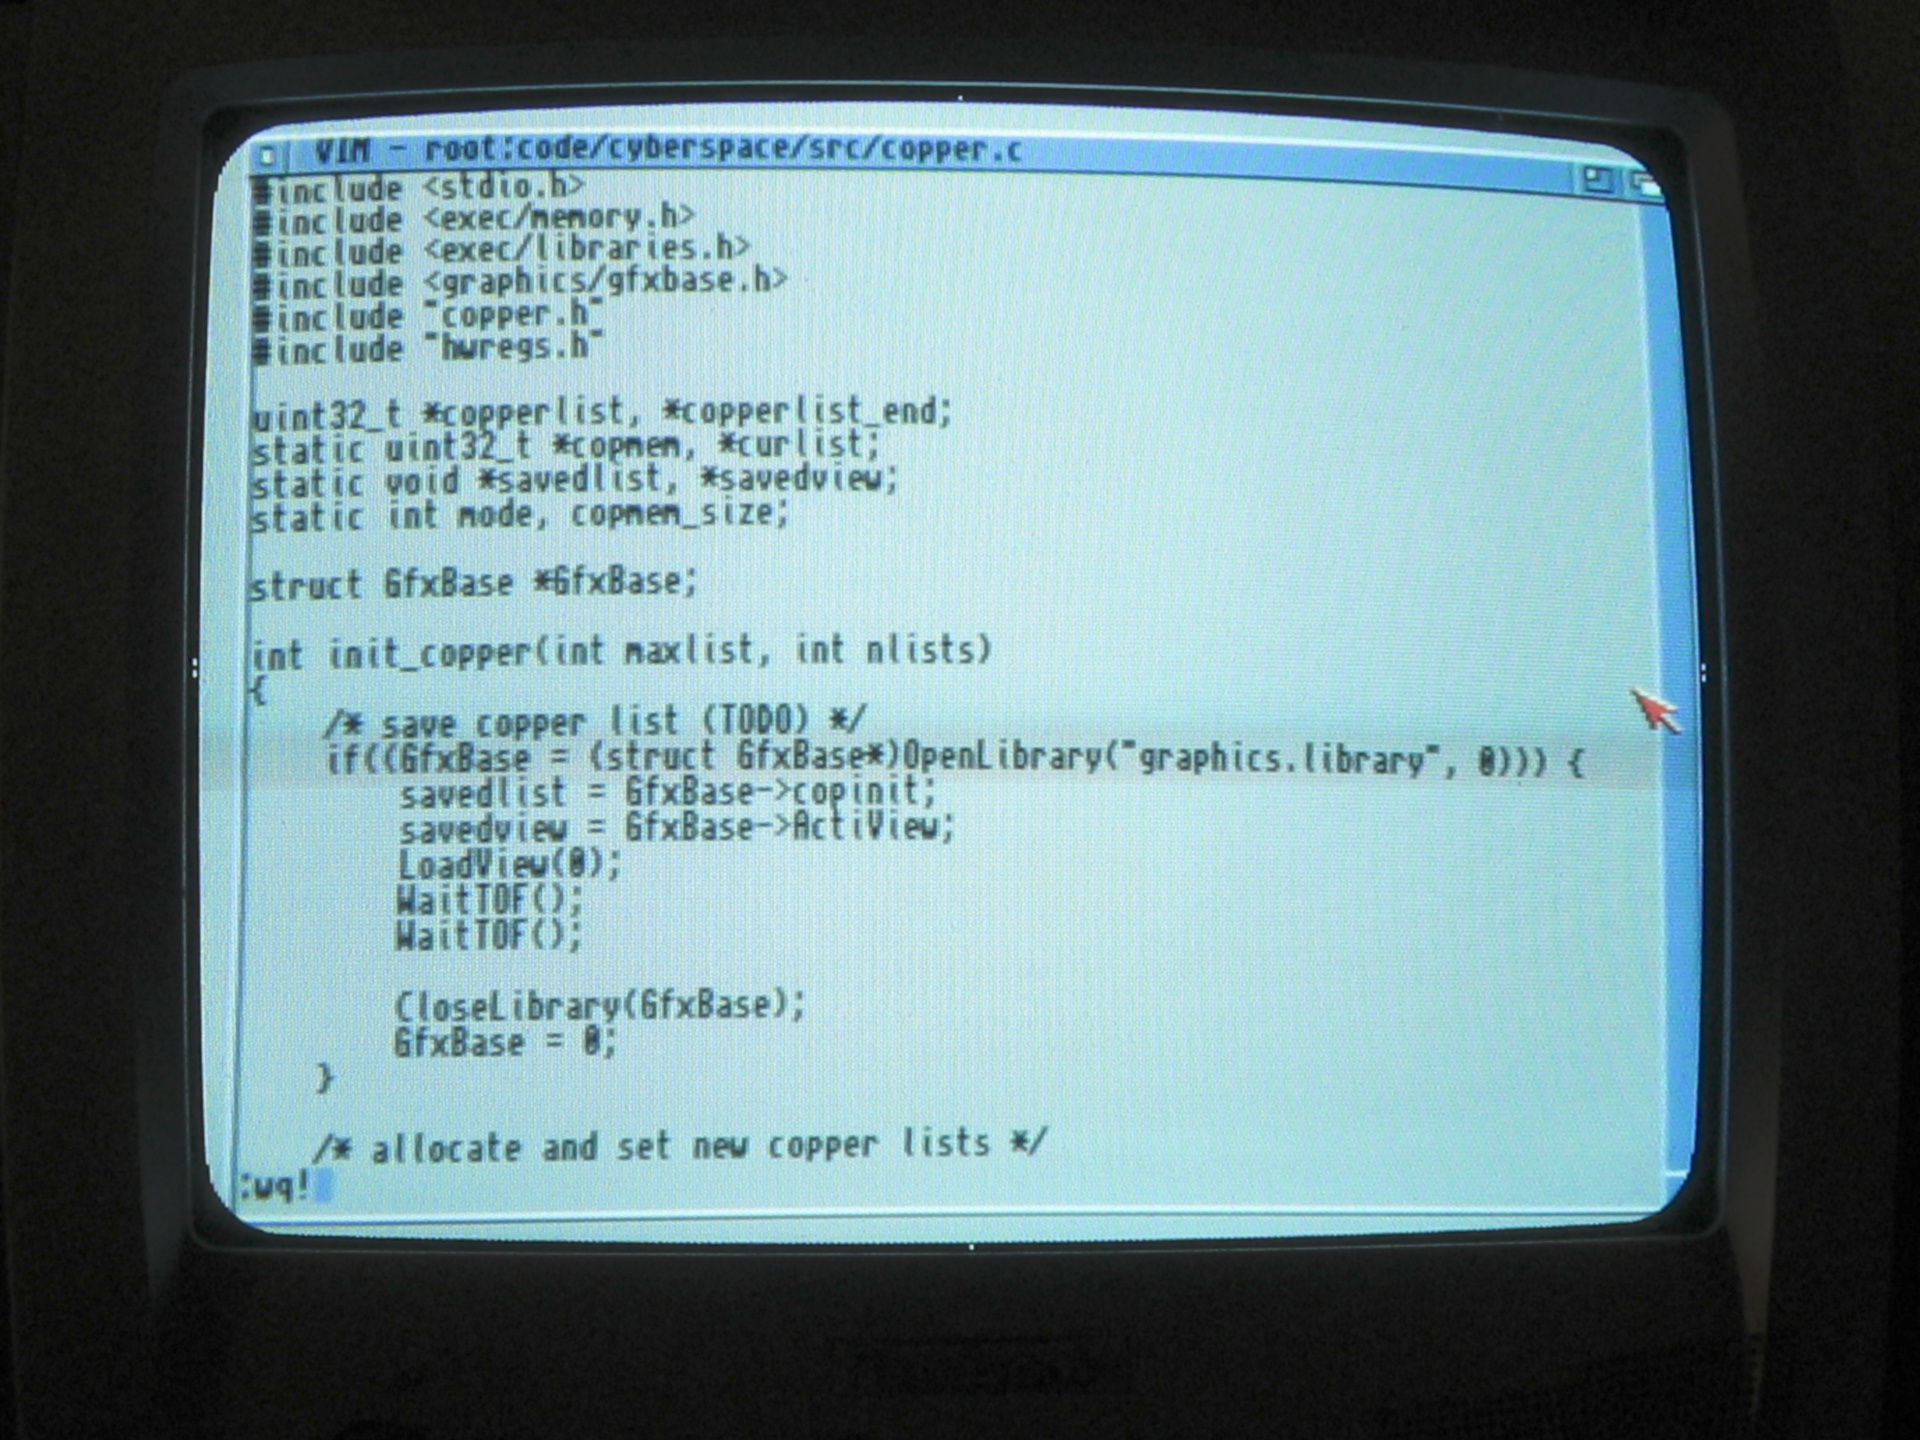
Having a hard disk makes hacking on the amiga so much more enjoyable, it's not even funny. I have now installed vim(!), a compiler (SAS/C), assembler (AsmOne), Deluxe Paint, Protracker, and a bunch of other tools. Plus I have project directories with my source code and data files always there. It's awesome!